
Tennis nets are great yard installments for those seeking a fun way to be active outside without leaving your property. However, after installing a tennis net and obtaining the right equipment, don’t forget to stay up to date with maintenance. For instance, you’ll need to know how to install a tennis net headband if you want to increase the lifespan of your net.
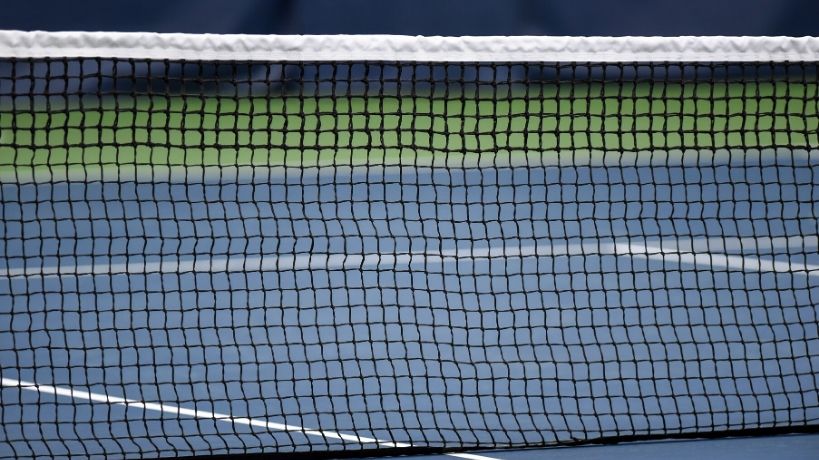
If you notice your tennis net headband is beginning to loosen or deteriorate, you need to replace it. As mentioned above, replacing your net’s headband helps maintain not only a clean appearance but also improves the overall lifespan of the whole net. That’s why it’s so important to follow these replacement steps, and luckily, replacing doesn’t even require removing the previous headband.
After placing the new headband over the old one, use these steps to secure the new one in place:
- Cut off two small pieces of lacing twine.
- Use the lacing twine to secure the headband to the ends of both net posts. Connect the headband to the posts using the closest eyelet to each post.
- Inspect the net and make sure it looks clean and secure.
- Use the remaining twine to bind the rest of the net to your new headband. Go to one end of the net, begin lacing through the second eyelet, and continue down until weaving the lace through the second eyelet on the opposite end.
- If your lacing is tight and your headband is secure, then your net is ready for play,
Knowing how to install a tennis net headband is an effective way to keep your net clean and durable for quite some time. At All Star Tennis Supply, we can provide you with the best selection of equipment, such as tennis nets and posts, you need to craft a playable tennis court right in your very own backyard.